How to repot a plant the right way
<p>Plants are often left in the pots they came home in, but those plastic containers don’t do much for outdoor aesthetics and nursery sizes are only to be used for a limited period.</p>
<p>When a plant outgrows its pot, it becomes hard for it to take up oxygen, moisture and nutrients, so growth may suffer, and the plant could die.</p>
<p>When choosing a container, the main points to consider are drainage, the weight after potting mix is added and how porous the material is.</p>
<p>“Consumer tastes have evolved from basic terracotta and glazed pots, with the new products made from composite materials now in demand,” says Simon Hupfeld of Northcote Pottery.</p>
<p>“Lightweight materials like fibre clay and glass reinforced cement are especially popular and offer many practical benefits given their increased manoeuvrability and functionality.”</p>
<p>When it’s time to repot, use the opportunity to update your containers, selecting colours, shapes and sizes that can be used to create a few showpieces in the garden.</p>
<p>“We have noticed a move away from plain finishes on pots towards textured surfaces and the addition of subtle details that accent the pot and add character,” says Simon. </p>
<p>“Our latest range features a wide variety of finishes and details, from stone and rustic textures to scrolls and floral patterns.”</p>
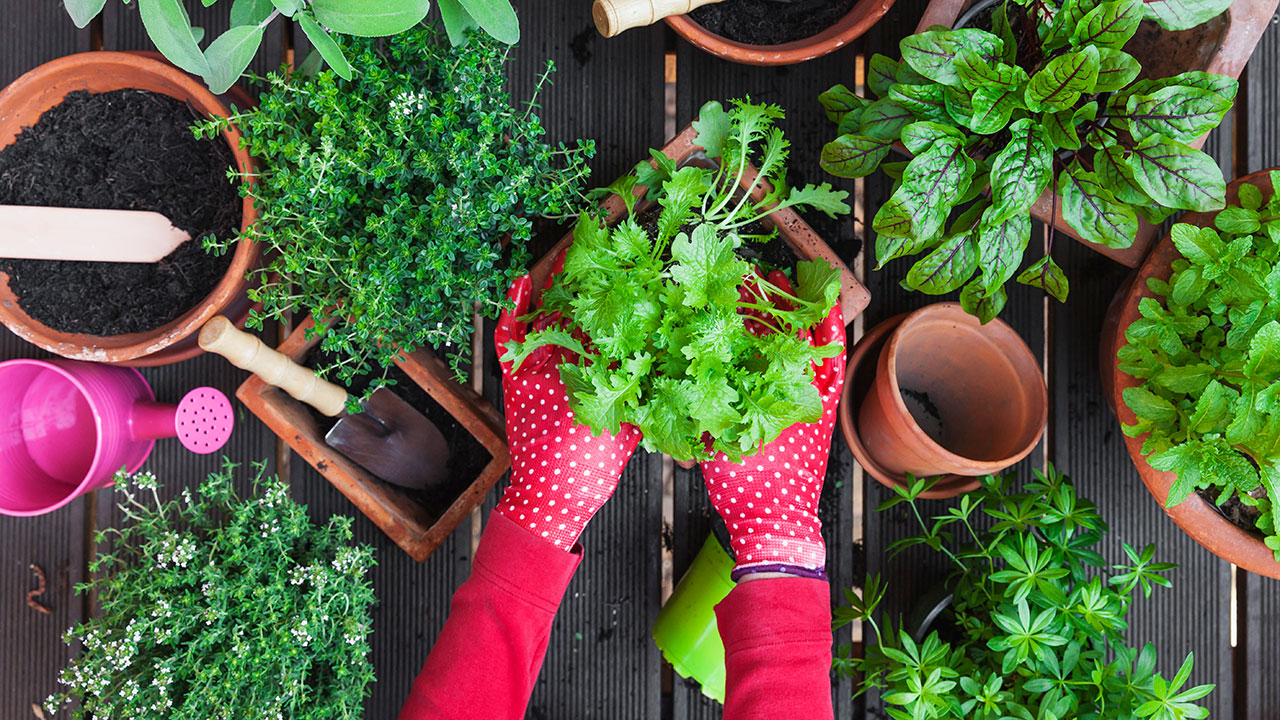
<p><strong>Choosing a container </strong></p>
<p><strong><u>Terracotta containers</u></strong> are porous and dry out quickly, making them perfect for plants and herbs that need good drainage such as lavender and rosemary. Painting the interior walls with a pot sealer can reduce evaporation for thirstier plants.</p>
<p><strong><u>Plastic pots</u></strong> are lightweight, inexpensive and easy to move around but don’t provide protection against temperature extremes. Plant roots can get hot in summer and cold in winter, which can affect growth.</p>
<p><strong><u>Stone, ceramic and concrete</u></strong> pots are heavy, but less likely to dry out on hot or windy days than terracotta and are good at keeping an even temperature in the soil.</p>
<p><strong>Drainage solutions </strong></p>
<p>Pots can provide excellent drainage, but the plants depend on you for water and nutrients. </p>
<p>Consider each plant when repotting, choosing a slightly larger container with good drainage. </p>
<p>Five to seven holes around the edge of the pot base provide better drainage than one in the middle.</p>
<p>Drill extra holes or pop a smaller well-draining pot into a container with no holes, elevating it slightly.</p>
<p>Regularly empty the excess liquid that collects in the larger pot to stop mosquitoes breeding and reduce the risk of stagnant water smells.</p>
<p><strong>Recycled Planters </strong></p>
<p>Another option for growing in pots is to make use of recycled objects. Take a creative approach and mix a random collection for a display that dazzles.</p>
<p>Wheelbarrows, buckets and even an old laundry tub can all be turned into homes for plants. Whatever the container, the size determines the type of species that can be grown.</p>
<p>Shallow-rooted vegies like lettuce or chives grow well in small vessels about 200mm deep. Plants with long root systems like carrot and parsnip need larger, deeper containers. </p>
<p><strong>TIP:</strong> To improve drainage, add a layer of gravel to the base of the container.</p>
<p><strong>Repot a root-bound plant </strong></p>
<p>Before repotting, soak the plant in its pot in a bucket of diluted Seasol for 10 minutes to reduce the stress of the procedure. TIP Don’t repot plants on a very hot day.</p>
<p><strong>Step 1. Trim the roots</strong></p>
<p>Trim the roots growing out of the drainage holes using sharp secateurs for a clean cut.</p>
<p><strong>Step 2. Tease the rootball</strong></p>
<p>Tease out the rootball by hand to encourage roots to grow down rather than around the pot wall.</p>
<p><strong>Step 3. Plant and water</strong></p>
<p>Water in well after planting into a slightly larger pot with fresh potting mix and firming it down.</p>
<p><em>Republished with permission of <a href="http://www.handyman.net.au/how-repot-plant">Handyman Australia</a>.</em></p>