7 quick tips for cleaning your kitchen’s trickiest appliances
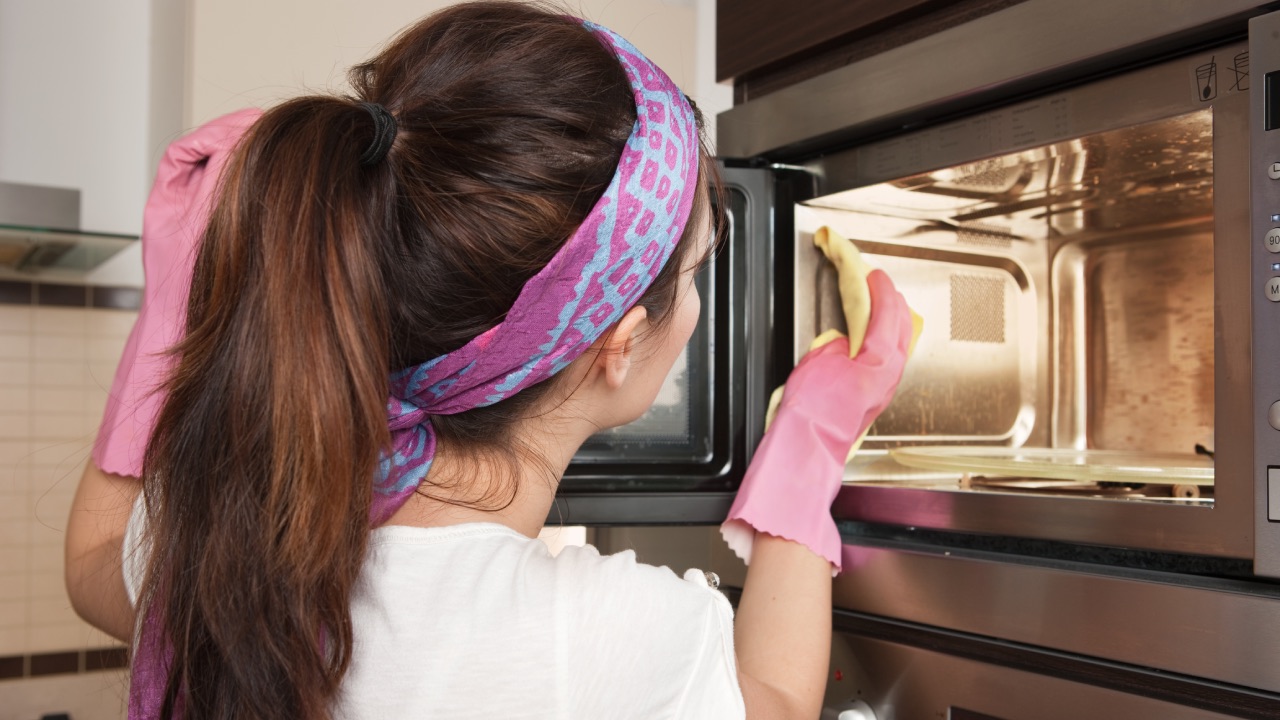
<p><strong>Microwave: Steam away messes</strong></p>
<p>Don’t waste elbow grease on the crusted messes in your microwave – just let them steam clean. Cut a lemon in half and squeeze the juice into a microwave-safe bowl. Add the lemon pieces to the bowl, along with 1/2 cup of water. Nuke the water and lemon for three minutes on high, or until the liquid starts to boil. Without opening the door, let the lemon water stand for five minutes.</p>
<p>The lemony steam will help break down the gunk, making it easy to wipe off after you remove the bowl. Take out the turntable to clean it, then wipe down the top, bottom, sides and door of the microwave before putting it back.</p>
<p><strong>Blender: Let it self-clean</strong></p>
<p>Hate the idea of scrubbing every inch of the blade? Let your blender do all the dirty work. Fill the pitcher with hot water as soon as you’re done using it, add a couple drops of dishwashing liquid, and run the blender like you would for a recipe.</p>
<p>Rinse it out and it will be ready for your next concoction. Just make sure you take the blender apart and give it a hands-on scrub every now and then for a deep clean.</p>
<p><strong>Slow cooker: Deep clean with baking soda</strong></p>
<p>A slow cooker makes food preparation easy, but the cleanup? Not so much. When your appliance has a mess that can’t be wiped away after a pre-soak, it’s time for a deep clean.</p>
<p>Add ¼ cup of baking soda and a squirt of washing up liquid, then fill with water. Put the lid on, then turn the machine on high for two to four hours.</p>
<p><strong>Stand mixer: Use a wet rag</strong></p>
<p>Place a wet rag over areas with built-on food residue to loosen it. After a few minutes, the dried gunk should be softer and easier to wipe away.</p>
<p>When cleaning the beater, let the attachment soak in water to help dissolve the mess before scrubbing it clean.</p>
<p><strong>Toaster: Target the crumb tray</strong></p>
<p>Don’t forget about that crumb tray, if your toaster has one. Slide it out and shake off the crumbs, or turn the whole machine upside down and shake lightly if it doesn’t have a removable tray. Wash and dry the tray before putting it back to get rid of any caked-on food.</p>
<p>To clean out the inner corners of your toaster, reach in with a pastry or basting brush. Finish by wiping the outside with a damp cloth and mild detergent, or a bit of vinegar if it’s stainless steel.</p>
<p><strong>Stove hotplates: Try different tactics for gas vs. electric</strong></p>
<p>For a gas hotplate, unclog the port with a pin or unfolded paper clip. Then take off the removable parts of the cooktop and soak them in hot, soapy water. Scrub them clean, then rinse thoroughly. Wipe the cooktop with a damp, not wet, cloth to prevent water from leaking into the burner.</p>
<p>Electric hotplates should never be submerged in water, so it can be hard to break down burnt spills, especially when washing up liquid isn’t strong enough. Combine baking soda and water until it has a paste consistency, then use the mixture to scrub the mess.</p>
<p><strong>Garbage disposal: Use lemon for a fresh scent</strong></p>
<p>If your disposal is starting to smell, it’s time for a thorough cleaning. Get rid of grime in the grinding mechanics by pouring half a cup of baking soda into the disposal, followed by a cup of white vinegar, two cups of ice, and one cup of salt.</p>
<p>With the cold water running, turn on the garbage disposal until the ice is gone. To freshen the odour, cut a lemon and grind the pieces one at a time in the disposal.</p>
<p><em>Image credits: Getty Images</em></p>
<p><em>This article originally appeared on <a href="https://www.readersdigest.com.au/food-home-garden/home-tips/7-quick-tips-for-cleaning-your-kitchens-trickiest-appliances" target="_blank" rel="noopener">Reader's Digest</a>. </em></p>